RC Guide

RC Guide
This document details Remote Control 3. The guide is also compatible (for the most part) with older versions of the Remote Control. The RC shown in this guide is the RC of “Era-Go Sandbox”. The images displayed have been censored where appropriate. This guide assumes that you have access to a server's Remote Control.
Part One: Remote Control?
Why should I care about the “Remote Control”?
Remote Control is the name of the software that is used to control Graalonline servers. Think of it like a command centre that is part chat-room and part control-panel. The Remote Control is used to:
Manage files using the built in file manager Manage staff access and server options Collate information (through different RC tabs and comments pages) Create and execute scripts.
We'll go through all of these things except the last point, “create and execute scripts”, as that could take a whole guide by itself, maybe even a whole book.
How do I get the “Remote Control”?
There are 2 ways to obtain the Remote Control. One is by using the Graalclient to obtain the official Cyberjouers hosted Remote Control software, the other is by using a link that contains an official beta of an upcoming release. Let's start with the first method.
Official Graal Client RC.
1. Download and install the official Graalonline Client.
2. Create a PC Graalonline account and log-into the game using your login information.
3. On the bottom left of the guide you will see a 'Start' button. Click that.
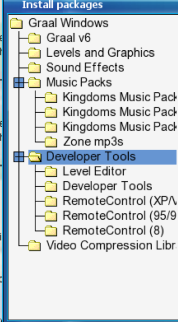
4. Click the option that says 'Install Packages' and then choose the option that's best for you.
5. The Remote Control software will download into your Graal folder. Run the exe and then enter your login information into the relevant fields. Note: Use your Graal ID (i.e. Graal378278) instead of your e-mail address as using the e-mail address can cause issues with the RC server-list.
6. Double click the name of the server you have access to.
7. Congratulations you have access to RC!
RC Beta Link
1. Download the file hosted on http://fp4.ca/windows_rc3_beta.zip
2. Extract it to a folder
3. Login with your Graal details. Note: Use your Graal ID (i.e. Graal378278) instead of your e-mail address as using the e-mail address can cause issues with the RC server-list.
4. Double click the name of the server you have access to.
5. Congratulations you have access to RC!
Part Two: Getting Your Hands Dirty
Let's analyse the RC.
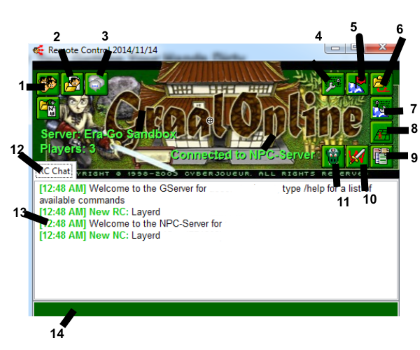
Let's go through this image one point at a time.
1. This is the playerlist.
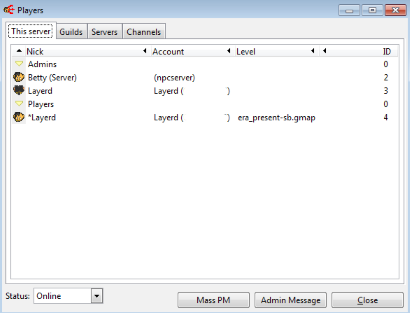
This feature of the RC lists all the online players in your server, their account names (censored for this guide) and the level they are in. You can use this feature to message the entire server as both a player (Mass PM) and as staff (Admin Message). These message features are not enabled on every server, so make sure to find out if your server supports them. You can PM a persons RC to deliver an “RC PM”.
2. This is the 'Account List', not many people have access to this, so we will skip this.
3. To Alls: A place to see sent to all messages. Really self-explanatory.
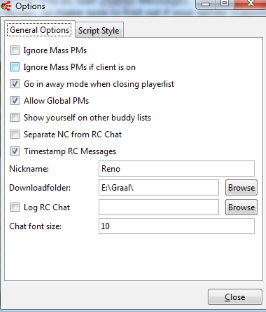
4. The Options menu. This menu is where you can alter some of your RC options. It's important that you know how to use these options effectively. Some optoins are self -explanatory and some options are complicated. The important ones are “Log RC Chat”, which should be enabled if you're on a popular server, and the Nickname: option, as well as the download folder option.
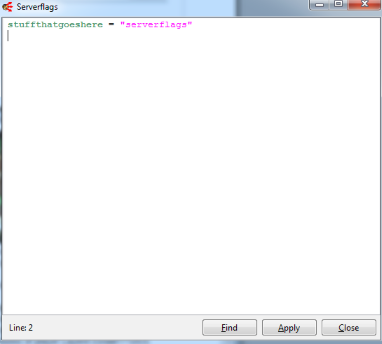
5. The Server Flags option is for advanced users, who Control a server. This is beyond the scope of this guide.
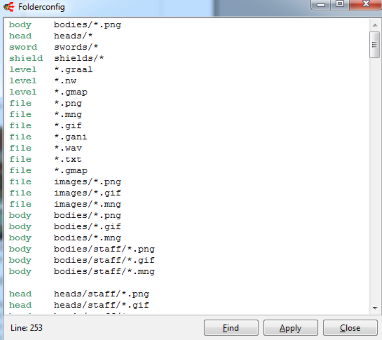
6. Folderconfig. This stores the servers folder configuration. Again, beyond the scope of this guide.
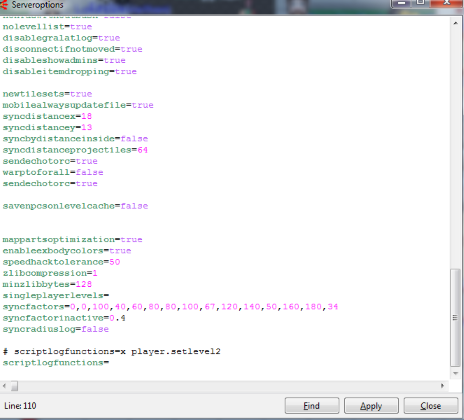
7. Server Options. This is complicated, out of the scope of this guide. Essentially it is a list of options settings for the server.
8. Local NPCs: Outdated (I think)
9, 10, 11: These are “Classes”, “Weapons”, and “NPCs”. These are all used for scripting. Way beyond the scope of this guide.
12: This is an RC tab. Think of it as a window. You can have multiple RC tabs.
13: Text Display: Text and dialogue from other staff is displayed in the chat window area.
14: Chatbar: This is where you type, when you've finished typing press enter. You can chat here, or enter commands. If you want to see a list of available commands for your RC enter /help into the Chatbar and press enter. Some commands might not be listed, ask your Admin for more information.
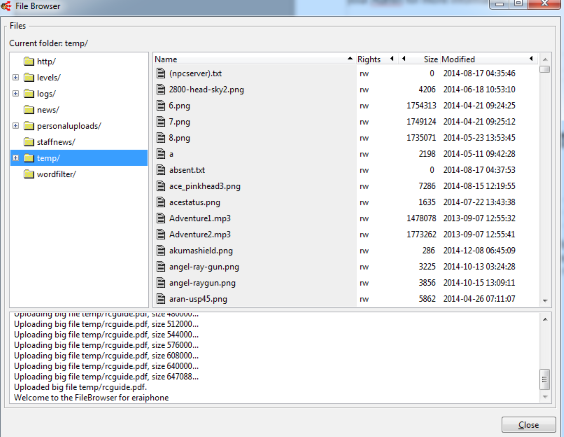
15. File Browser: The file browser is the most important part for the development team. It is where the team downloads/uploads files to create the games world. Folder rights are a staff right so they can be given and taken away. You can only work within your own personal project scope.
That's it for the RC Guide, I hope you found it informative.
created by Reno Dorvay

