Placing GameObjects in NPC: Difference between revisions
No edit summary |
No edit summary |
||
| (2 intermediate revisions by the same user not shown) | |||
| Line 6: | Line 6: | ||
Create a Script file in classes. You load the assets the same it was done before in weapons; under '''//#CLIENTSIDE''' | Create a Script file in classes. You load the assets the same it was done before in weapons; under '''//#CLIENTSIDE''' | ||
[[File:3d samples documentation test.png|none|thumb|1040x1040px]] | |||
[[File: | |||
function onPlayerChats() { | function onPlayerChats() { | ||
if (player.chat == "/destroy") this.destroy(); | if (player.chat == "/destroy") this.destroy(); | ||
| Line 15: | Line 14: | ||
function onCreated() { | function onCreated() { | ||
(@"3D/Dev/AssetManager").loadAssetBundle("documentationexample"); | |||
this.prefab = GameObject:: | this.prefab = GameObject::fromassetbundle("documentationexample", "assets/example/bomb.prefab"); | ||
this.bomb = Object::Instantiate(Type::GameObject, this.prefab); | this.bomb = Object::Instantiate(Type::GameObject, this.prefab); | ||
this.bomb.transform.parent = this.gameobject.transform; | this.bomb.transform.parent = this.gameobject.transform; | ||
this.bomb.transform.localposition = | this.bomb.transform.localposition = v3(0,0.5,0); | ||
} | } | ||
'''<u>Class:</u>''' ''3d_samples_documentation_test'' | '''<u>Class:</u>''' ''3d_samples_documentation_test'' | ||
Latest revision as of 06:55, 12 October 2021
Another way to make GameObjects visible to all the Players is by placing them in NPCs.
However, placing many NPCs may be heavy on the server, so beware of that whenever you're doing so.
Start off by creating the NPC the normal way:
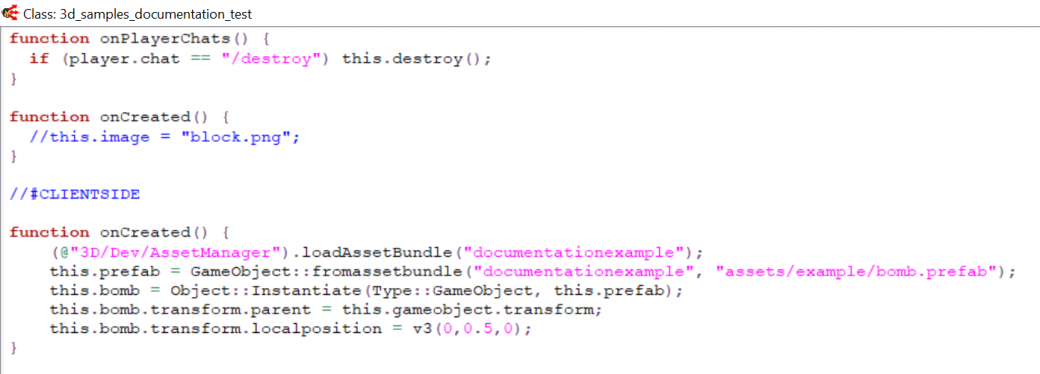
Create a Script file in classes. You load the assets the same it was done before in weapons; under //#CLIENTSIDE
function onPlayerChats() {
  if (player.chat == "/destroy") this.destroy();
}

//#CLIENTSIDE

function onCreated() {
    (@"3D/Dev/AssetManager").loadAssetBundle("documentationexample");
    this.prefab = GameObject::fromassetbundle("documentationexample", "assets/example/bomb.prefab");
    this.bomb = Object::Instantiate(Type::GameObject, this.prefab);
    this.bomb.transform.parent = this.gameobject.transform;
    this.bomb.transform.localposition = v3(0,0.5,0);
}
Class: 3d_samples_documentation_test
Everything is the same when it comes to loading and instantiating the prefabs.
The only difference is for this line of code:
| this.projectile.transform.parent = this.gameobject.transform; |
|---|
Here, this.gameobject is the NPC GameObject. It is an empty GameObject we attach our prefabs to. We create the prefabs and make them children of this NPC GameObject.
Destroying the NPC:
- this.destroy will destroy the NPC and all the children as well. (done on ServerSide)
- You could also destroy the NPC and its children using the Unity Binding function: Object::Destroy(this.gameobject). (done on ClientSide)
Now in your other script/weapon. To place the NPC in the scene, we use putnpc2(x,y,"");
On ClientSide we trigger server in order to place the NPC containing the prefabs, and inform all the other clients of it, by implementing onActionServerSide().
findplayer("Graal5918039").addweapon(this.name);

function onActionServerside(cmd,x,y) {
  if (cmd == "bomb") {
    temp.bombernpc = putnpc2(x,y,"");
    temp.bombernpc.join("3d_samples_documentation_test");
  }
}

//#CLIENTSIDE

function onCreated() {
  triggerserver("gui", this.name, "bomb", player.x, player.y);
}
Weapon: 3D/Samples/Examples/DocumentationTest
