Creation/Dev/Terrain Generator
The terrain generator tool can be used to generate maps for Graal which use 3D terrain.
How To Generate and Use a Terrain Map Offline
The Terrain Generator is an external program that you can download on the login server, and use to generate terrain maps, as seen on Graal Kingdoms. You typically won't use this program unless you are staff on Graal Kingdoms, but for all intents and purposes, here is a guide telling how to use this program.
Guide by Fowlplay4, with additional information from Stefan.
Note: You can replace yourworld (below) with anything you want; typically it should be set as the name of your server, unless you are developing for Graal Kingdoms.
- Step 1: Download (On Login Server), and run the Terrain Generator (Terrain Generator.exe)
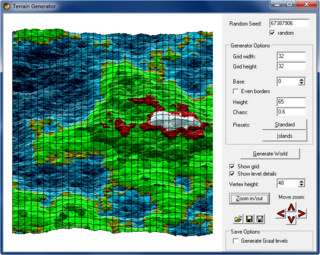
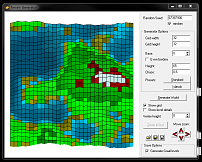
- Step 2: Change the Generator Options to your liking. (See Image Below)
- Click ‘’Generate World’’ to generate a map. (Map is generated using fractal algorithms.)
- To make an island, click on the Islands present button.
- For a more detailed view, you can click on Show Level Details.
- To directly edit the terrain, move the mouse up and down will clicking and holding the grid.
- You may need to click Generate World several times in order to find the best map.
- After you find the best map, you can take note of the random seed that is shown in the top right corner of the window.
- You can use this number / random seed to re-generate the same map in the future. (Click on random, and enter the number.)
- Step 3: Check off Generate Graal levels.
- Step 4: Click Generate World.
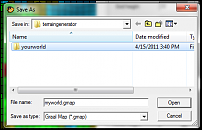
- Step 5: Create a Blank Folder for your New GMap (See Image Below).
- Step 6: Save yourworld.gmap in your new folder.
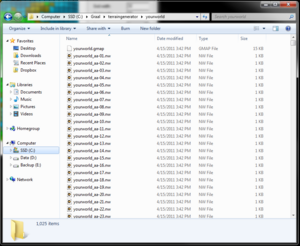
- Step 7: Navigate to your new overworld's folder; if done correctly, you should see all the levels in the folder. (See Image Below)
- Step 8: Open yourworld_aa-01.nw.
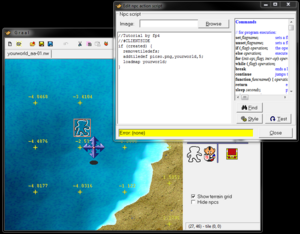
- Step 9: Lay an empty NPC on the level. (See Image Below)
- Step 10: Open the NPC and copy and paste the following script:
//Tutorial by fp4
//#CLIENTSIDE
if (created) {
  removetiledefs;
  addtiledef picso.png,yourworld_,5;
  loadmap yourworld;
}
- Step 11: Make sure to change yourworld_ to the name of the gmap you used earlier. Close the NPC Window / Script.
- Step 12: You should see the terrain properly with the default GK Tileset. (picso.png)
To manipulate the terrain in the level editor, just click and drag the + symbol up or down.
The GMap can then be uploaded to your server and be set up and used like any other GMap!
